Hi Elementors,
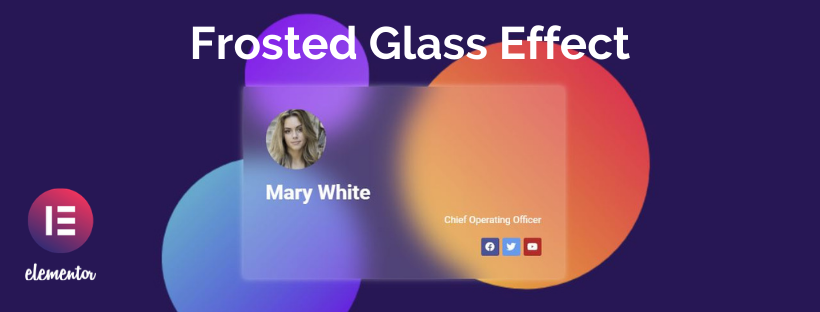
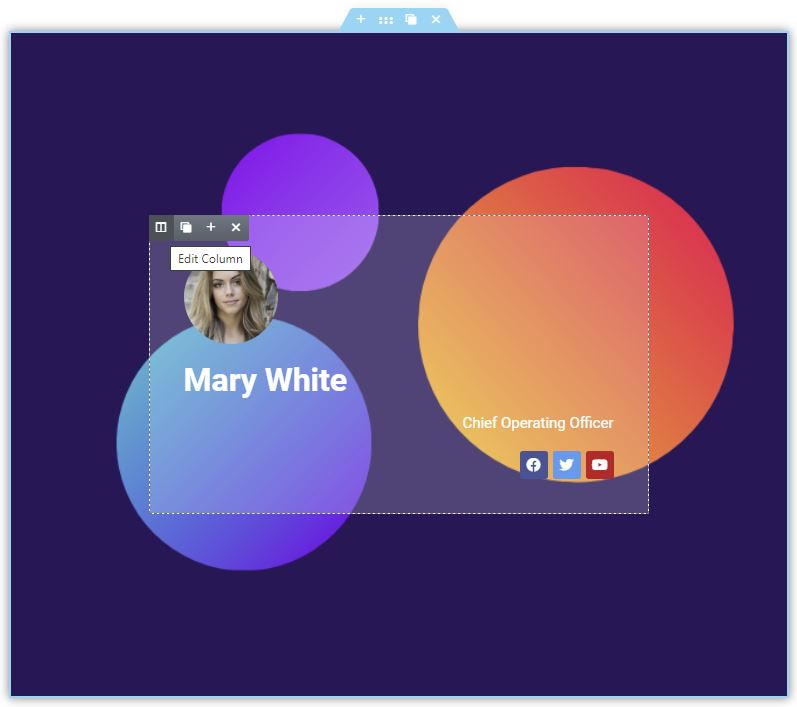
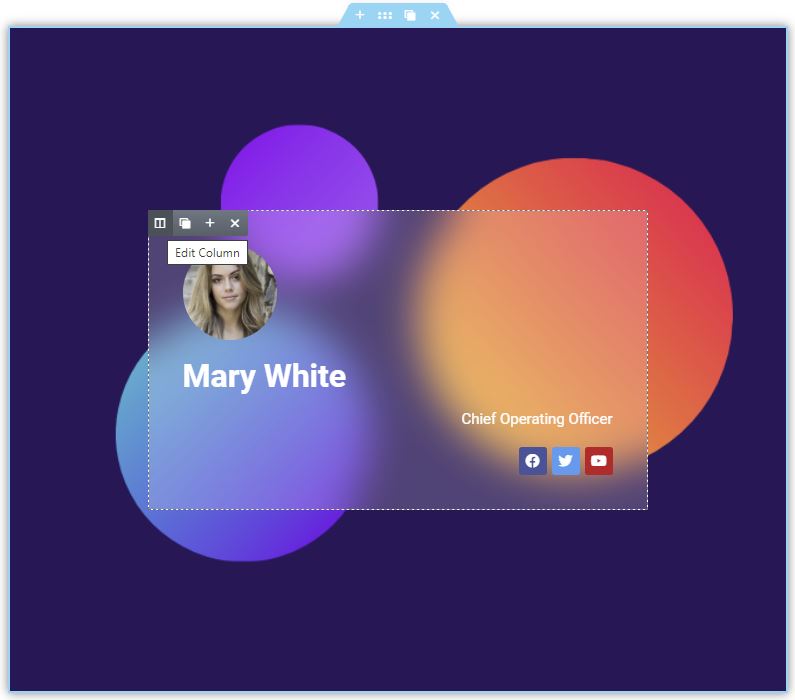
today I would like to show you a simple way how you can create a “Frosted Glass Background Effect” without an additional addon for Elementor. You can create this cool frosted glass effect with a backdrop filter, which is a simple CSS code. So let’s start creating your unique Glassmorphism effect.
7 Steps how to create "Frosted Glass Effect" without any Elementor Addon
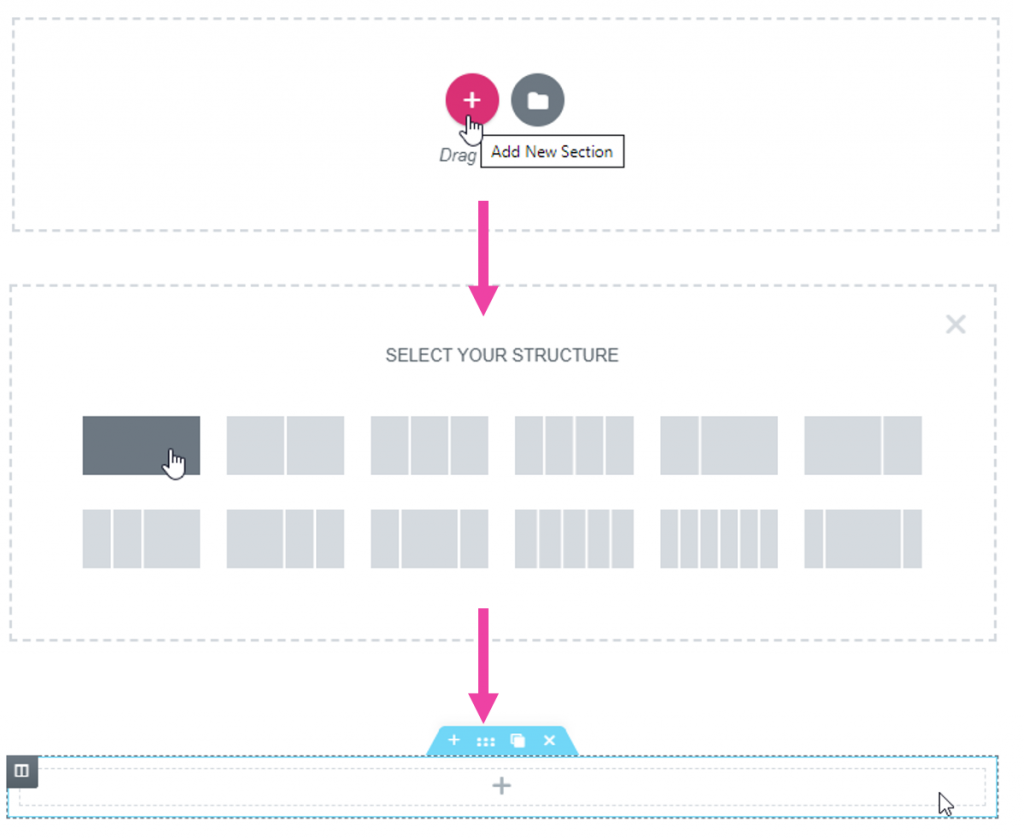
1. Add a new "main section"
Add a new section with only one column.
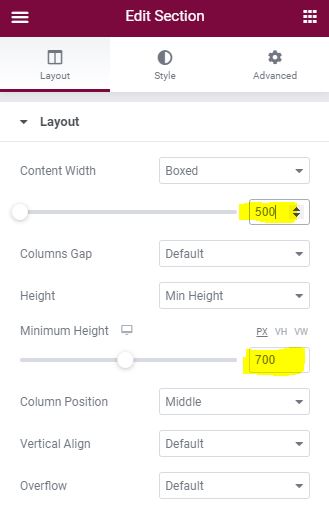
2. Set section "Width" and "Height"
Of course you can choose these values freely. These have proven to be useful in this example.
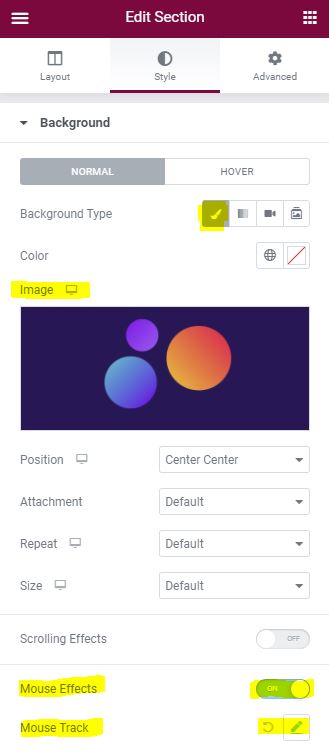
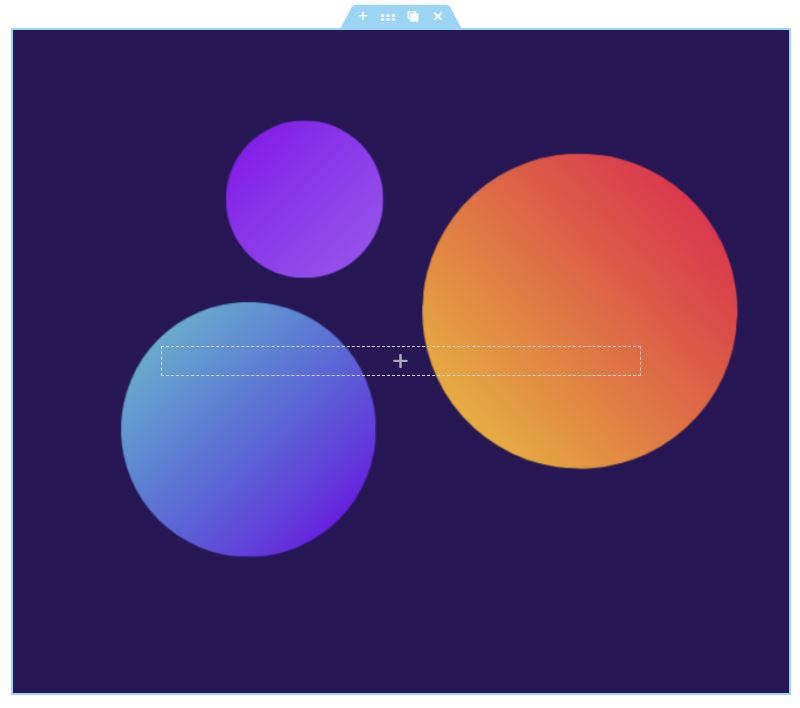
3. Choose a background image
Choose a background image of your choice. Shapes are especially good for this frosted glass effect in Elementor. Turn “Mouse Track” on.
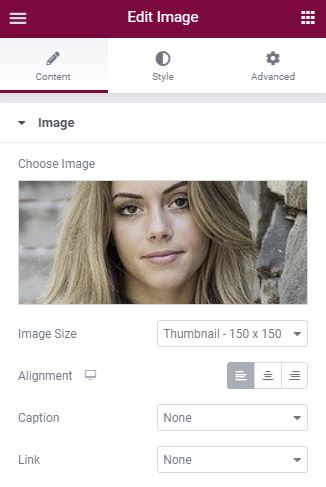
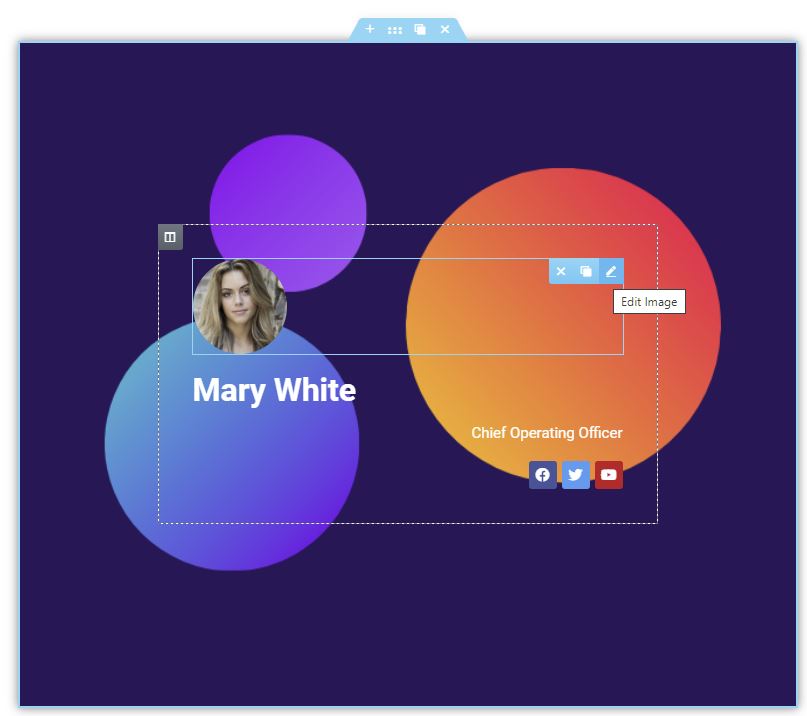
4. Fill column with content
There are no limits when it comes to content creation. Of course, you can also select an inner section and style multiple columns.
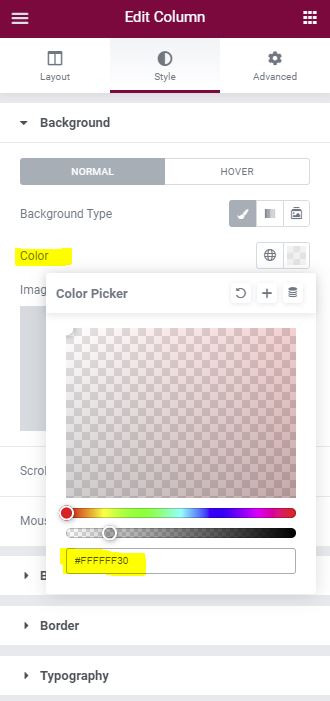
5. Define background color of the column
Depending on the background image, I recommend white or black for the background color of your column. Pay attention to the opacity.
#FFFFFF30
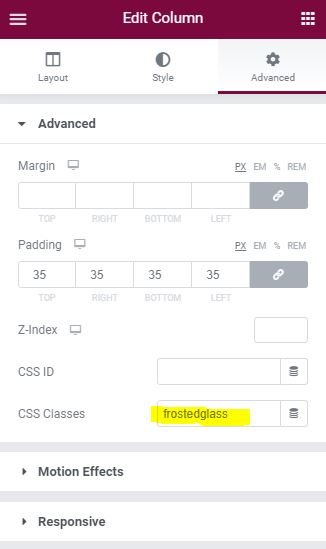
6. Define CSS Classes of the column
frostedglass
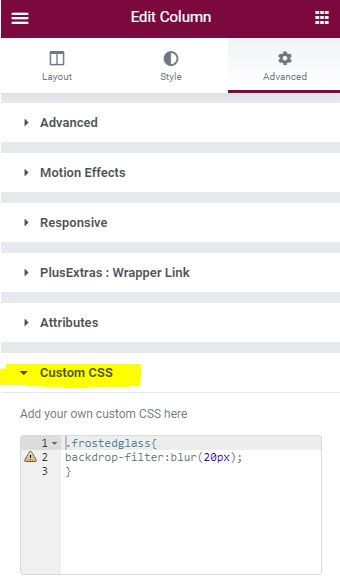
7. Add CSS Code to the column
Just paste the predefined CSS code and that’s all!!!
.frostedglass{
backdrop-filter:blur(20px);
}
Conclusion, Live Example and Download
This is how easily you can create Frosted Glass Effect in Elementor with the basic version of Elementor and you don’t need an additional addon. Of course you can also use an Elementor Addon for this, which offers a lot more backdrop filter options: Addons that include the Backdrop Filter feature!
You can find more cool widgets for Elementor in the Widget Table. HAVE FUN!
